Posted by Bob Lefebvre
Note: You don’t have to be an eBird user or have an eBird account to do this. Anyone with an internet connection can use eBird as a resource, so please read on.
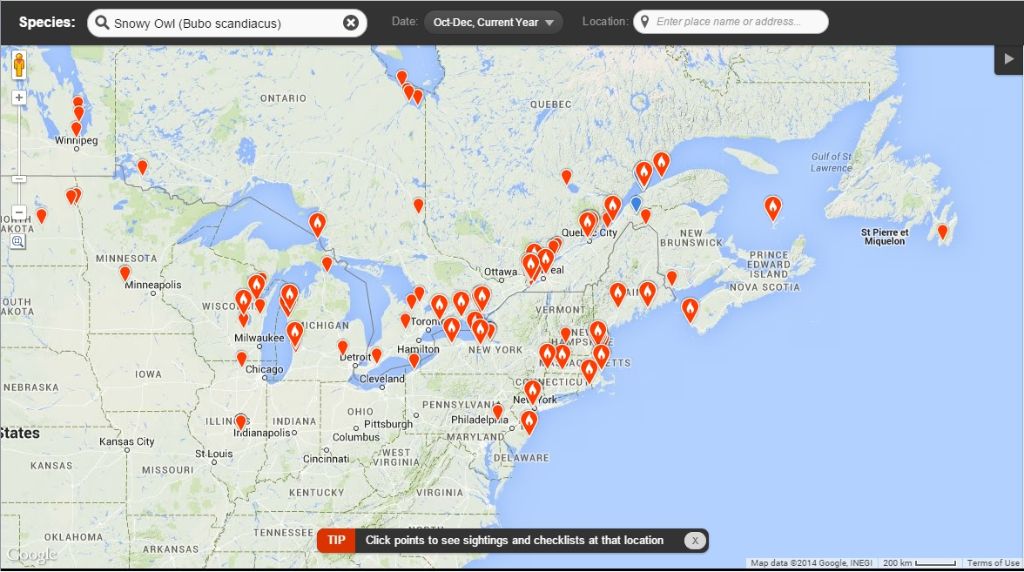
eBird, the online database of bird sightings, has many useful features that birders can use to study patterns of bird movements in time and space. The one I use the most is the Interactive Range and Point Maps. This shows a map of all sightings reported for a particular species for any place and time specified. You can set the time period to be as long or as short as you like, and thus see the distribution of the bird.
By setting a short time period of the most recent month or two, you can find out what is being seen in your birding area right now. I will run through an example of the process to show how you can easily find out exactly where your target bird has been seen.
Step 1: Go to the eBird Website home page. (In the example it is eBird Canada, but you could also use the US site.) Your screen will look something like this:

.
Step 2: Click the “Explore Data” tab. There will be three choices: Range and Point Maps, Bar Charts, and Line Graphs.

.
Step 3: Select “Range and Point Maps” to bring up the world map.

.
Step 4: Specify the date range for your search. Click the “Date” tab (which is defaulted to “Year-Round, All Years) to select a time period. In the example, I set it to December only of the current year. It was early December when I did this example, so only sightings from the previous few days would be shown. Then click “Set Date Range” in the green box.

.
Step 5: Select the target species. A new screen has come up with the date range set to “Dec-Dec, Current Year”. Go to the “Species” box and type in the bird. I used “Snowy Owl” in the example. As you type, various species possibilities that fit what you have typed so far will show in the blue box below. Once the correct species name appears in the blue box, click it to select the species.

.
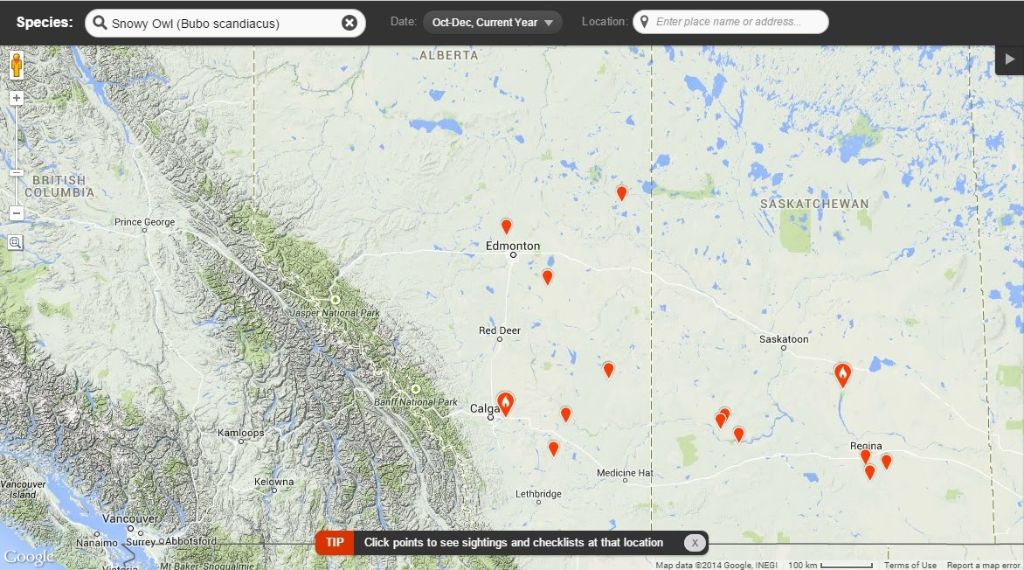
Step 6: Zoom in on the map to see sightings in your area. You could also at this point set the location (to Calgary, for example) in the upper right-hand box, but it is just as easy to zoom in on the Calgary area by double-clicking your mouse or scrolling your mouse wheel until you get close. Any area that is purple on the map will have at least one Snowy Owl sighting.

.
Below, I have zoomed in to the Calgary area. Paydirt! Snowy Owls have been reported inside the two purple rectangles. Now I just have to zoom in a little closer on them to see the exact locations.

.
Step 7: Get the sighting data from a point location. The two red teardrops show the exact locations reported for Snowy Owls. By clicking on them, you bring up the sighting information. In the example, I clicked the westernmost teardrop and discovered that it was Daniel Arndt who reported one owl on December 1. You could now scroll in some more to see a close-up map of the area with the names of the roads. But you can also get more information from Dan’s checklist.

.
Step 8: See the checklist from the reported sighting. Click “Checklist” next to the name of the observer, to bring up all the particulars of the sighting. If there had been other species seen at that location, they would have been listed there.

.
Step 8: See the location on a Google map. On the above screen, click “Map” at the end of the location line to get a Google map with the precise location and GPS coordinates. You can now drive to the exact spot where Dan saw this owl, where, if you’re lucky, it will be still be sitting on the same pole.

.
Give this a try to see how easy it is to find out what’s being seen in your area. Of course, the only sightings you’ll find are those submitted by eBird users, so the more people using eBird, the better!
Links:
eBird Canada
eBird US


