Posted by Dan Arndt
Earlier this year I was asked by the amazing people at Swarovski if I would be interested in testing out some of their optics, and writing a review of my experiences. To put a fine point on it, I could not have been happier to say yes, and in retrospect, I’d have to say it was an opportunity of a lifetime. I’m going to go over my general points with some photo assistance, and hopefully convince some of you to take a second look at Swarovski Optik gear.
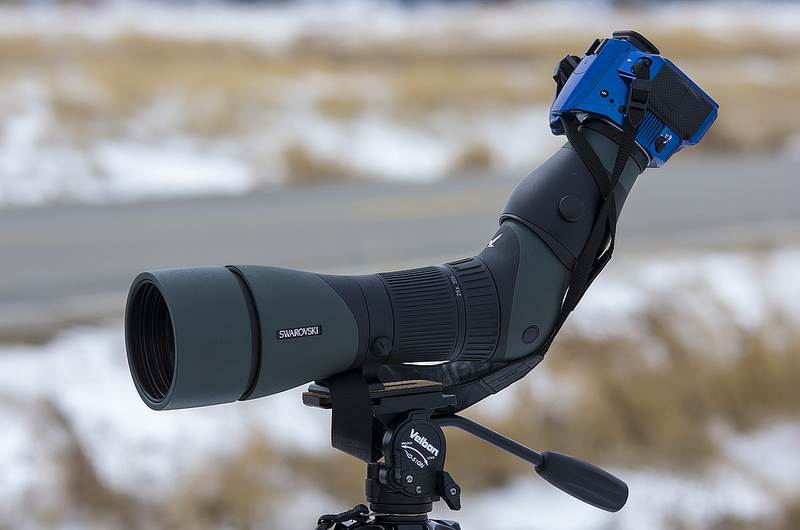
As you can see in the above photo, this setup is entirely manual focus. To be honest, I was incredibly skeptical that I would be able to get clear, sharp photos of fast-moving birds. I had recently picked up a new tripod with a pan/tilt head, which I would recommend for any digiscoper to start with, and also a remove infrared shutter release, which works both in front of and behind my Pentax K-30, which was also indispensable.
The trick behind manually focusing while digiscoping… take a lot of shots, and practice, practice, practice. I’ve read blogs and forums focused on digiscoping, and the general rule of thumb seems to be 1 good photo for every 100 photos taken. Maybe it’s the prior experience I’ve had with digiscoping, or just the quality of the equipment, but I found I was able to use nearly 1/3 of all the images I took. It was a lot harder choosing which photos not to use rather than the ones that I would keep!
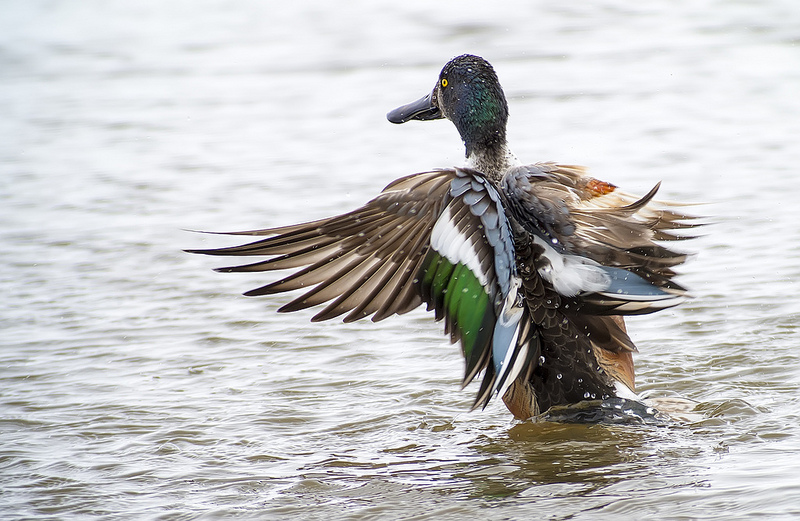
Northern Shoveler at Weed Lake – April 14, 2013
Swarovski ATX-85 + Pentax K-30 @30x magnification
1/800 sec., f/13, ISO 400
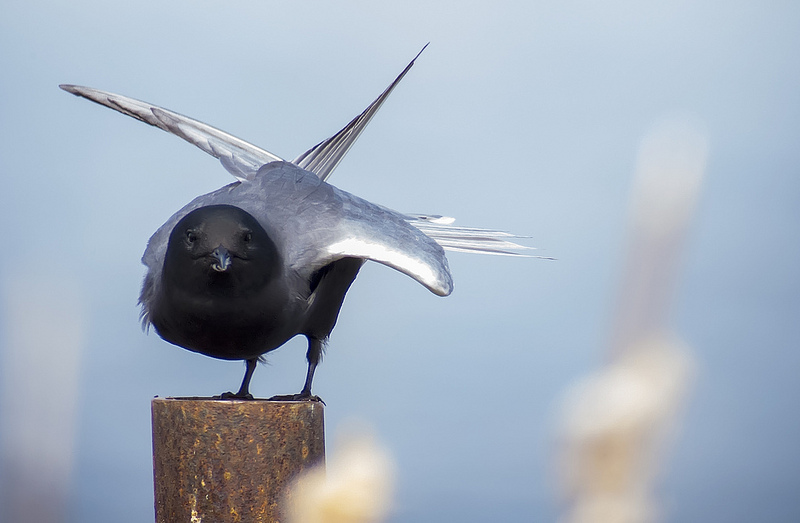
Black Tern at Eagle Lake – May 18, 2013
Pentax K-30 + Swarovski ATX-85@40X magnification
1/250sec., f/16, ISO 1600

Killdeer at Inglewood Bird Sanctuary – April 16, 2013
Pentax K-30 + Swarovski ATX85@30X magnification
1/250sec., f/13, ISO 1600
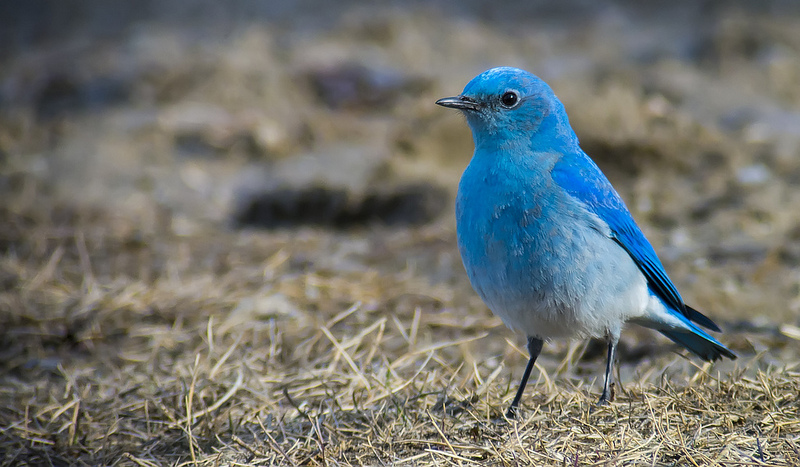
Mountain Bluebird at Inglewood Bird Sanctuary – April 16, 2013
Pentax K-30 + Swarovski ATX-85@40X magnification
1/320 sec., f/16, ISO 1600
Where the Swarovski ATX-85 Angled Spotting Scope and TLS APO Digiscoping adapter really excel though, is with birds that are a little more sedentary. While getting action shots is pretty easy when the light is excellent, the stability of shooting on a tripod with a remote shutter allows for much lower than usual shutter speeds, allowing lower ISO compensation, or allowing even greater magnification. With the zoom ring located mid-way down the eyepiece, rather than just below it, and the focal ring located on the body of the scope itself, it allows for very fine adjustments to focal length and zoom without the adapter getting in the way, and without jostling the tripod off the target bird.

Gray-crowned Rosy Finch at Bearspaw Dam – April 13, 2013
Pentax K-30 + Swarovski ATX-85@60x magnfiication
1/320sec., f/22, ISO 3200
This Gray-crowned Rosy Finch was well inside an area marked with numerous No Trespassing, Private Property, and No Admittance signs, so I set up the scope, tripod, and camera rig midway up a hill about 150 meters away. The equivalent focal length of this scope at this magnification level is around 3000mm, once the 1.5x cropped sensor, 35mm equivalent adapter, and 60x magnification is factored in. To put this into some perspective, this bird is 140-160mm in length (about the size of a House Sparrow), and was taking up about 1/8 of the image in the display. To get an equivalent photo with my Pentax K-5 and Sigma 150-500, I would have had to be about 20 meters away from the bird, well within the clearly marked private property! The above photo was additionally cropped 50%. That speaks volumes to the sharpness of the glass and coatings that Swarovski uses in their spotting scopes.

Great Gray Owl on Grand Valley Road – April 20, 2013
Pentax K-30 + Swarovski ATX-85@60x magnification
1/320sec., f/22, ISO 400
If that last image didn’t convince you, maybe this one will. Again, this photo was taken at over 100 meters distance, with blowing snow, wind gusts, and terrible visibility. Once again, Swarovski comes through in a pinch. While this may not be an award-winning photo, it goes to show just how incredible the equipment actually is.
Now, there are some of you out there who aren’t really all up on this digiscoping thing yet, and just want a nice, clear scope, with great optics that’s easy to use. As I mentioned before, the lenses and coating on this scope are the top of the line. Even on very warm days, the heat distortion above 40x magnification was somewhat dispersed by the optics, making identification of distant birds seem like nothing at all. I like the angled scope too because it can be tilted at any angle to allow others to view, without changing the position of the scope. You can simply release the tripod ring, rotate the scope in place, and lock it back in at the appropriate eye level for the new viewer.
It also doesn’t really change anything if you’ve already got some accessories that you usually use to scope with, be they car window mounts, bean bags, or your current scope tripod, this scope will work with just about anything under the sun. If you’re interested in this scope, or any of Swarovski Optiks other amazing optics, check out their website at http://ca.swarovskioptik.com/nature, for their birding equipment, or http://ca.swarovskioptik.com/hunting for their hunting gear.
The review, in a nutshell:
Pros:
The scope itself is light, easy to clean, and best of all, totally waterproof.
It’s super easy to learn to use, and even with an entry-level tripod and camera can capture superb images.
The quality of the glass, coatings, and even transportability of the equipment is top-notch and very user friendly.
Cons:
The price point is obviously out of the range of many birders and photographers, simply because it’s the very top end of the line, but it’s worth every penny.
I did have a bit of trouble with the DRX Adapter sleeve not locking down properly, and coming loose off of the scope during transport. The reason this is an issue is that without a solid connection, vignetting of the images (black space where the eyepiece is blocking the adapter lens) becomes very apparent, especially at higher magnifications. It seems that a simple locking ring between the eyepiece itself and the adapter sleeve would be an easy fix.
And last but not least, the only major con that I can readily point out is that using this scope on a nearly daily basis for 3 months has completely ruined me for using my current digiscoping rig, let alone simply using my current scope for its intended purpose of simply spotting birds! Are there any generous benefactors who’d like to gift me one of these amazing scopes? 😉
I’ve added a few more photos below of some of the better shots I was able to get while I had the scope, and if you want to see even more, here’s a link to the photo album I set up on Flickr to show off all the photos I took while I had the scope this spring!

Green-winged Teal at Weed Lake – April 14, 2013
Pentax K-30 + Swarovski ATX-85@30X magnification
1/640sec., f/13, ISO 400
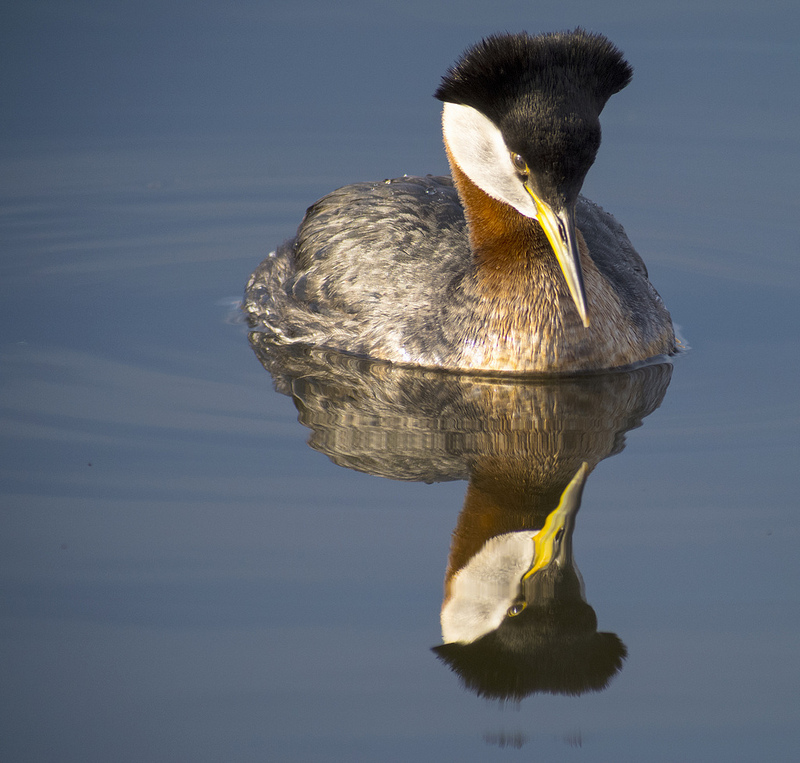
Red-necked Grebe at Frank Lake – April 27, 2013
Pentax K-30 + Swarovski ATX-85@20X magnification
1/400sec., f/10, ISO 800

Red-necked Grebe at Frank Lake – April 27, 2013
Pentax K-30 + Swarovski ATX-85@20X magnification
1/160sec., f/10, ISO 800

Long-billed Curlew at Glenmore Trail and Highway 24 Sloughs – May 18, 2013
Pentax K-30 + Swarovski ATX-85@50X magnification
1/250sec., f/20, ISO 1600

Franklin’s Gull at Inglewood Bird Sanctuary – May 10, 2013
Pentax K-30 + Swarovski ATX-85@30X magnification
1/320sec., f/13, ISO 800

Common Loon at Carburn Park – April 28, 2013
Pentax K-30 + Swarovski ATX-85@40X magnification
1/160sec., f/16, ISO 800

Lesser Scaup at Weed Lake – April 14, 2013
Pentax K-30 + Swarovski ATX-85@30X magnification
1/640sec., f/13, ISO 400
Thanks for reading, and good birding!
